
Sign in with a crypto wallet
After you have set up your Exodus wallet, you can sign in on our website. In this article, we show you the two required steps to connect your wallet and sign in securely:
- Connect your wallet
- Sign the request and sign in
This flow is similar to sign-in methods you already know. In those flows, you usually enter your email address first and then your password. Sometimes a two-factor authentication (2FA) step follows, where you must enter an additional one-time code.
A separate 2FA code step is not required for Web3 sign-in. In the second step, you digitally sign the sign-in request and confirm ownership of the connected wallet. This does not identify you personally, but it cryptographically confirms that you control that wallet.
Smartphone
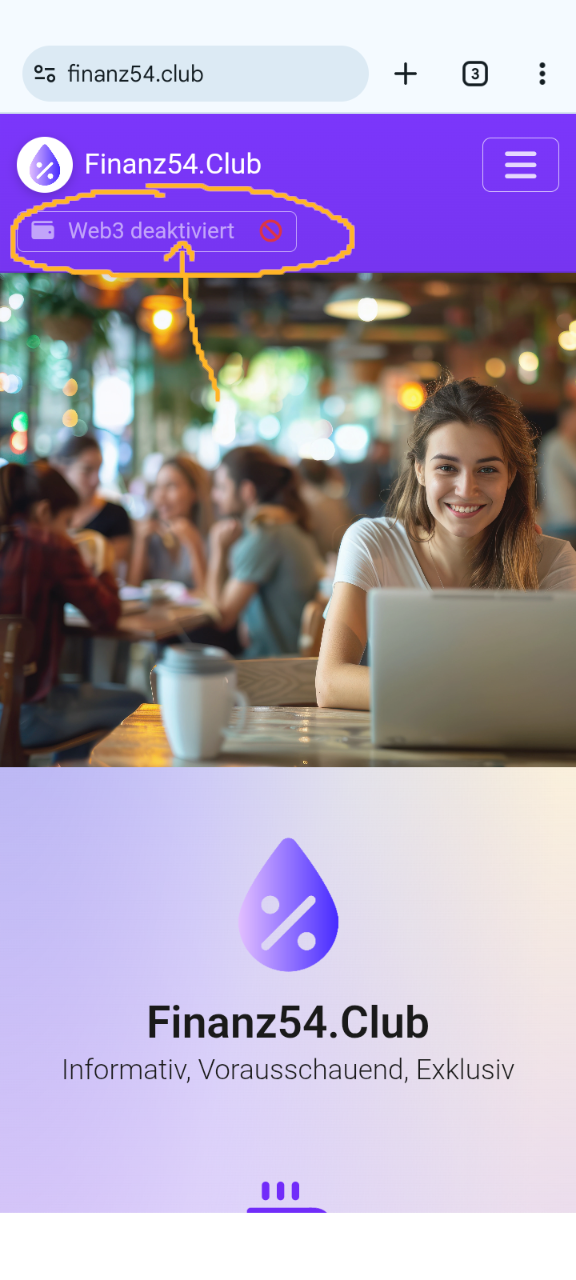
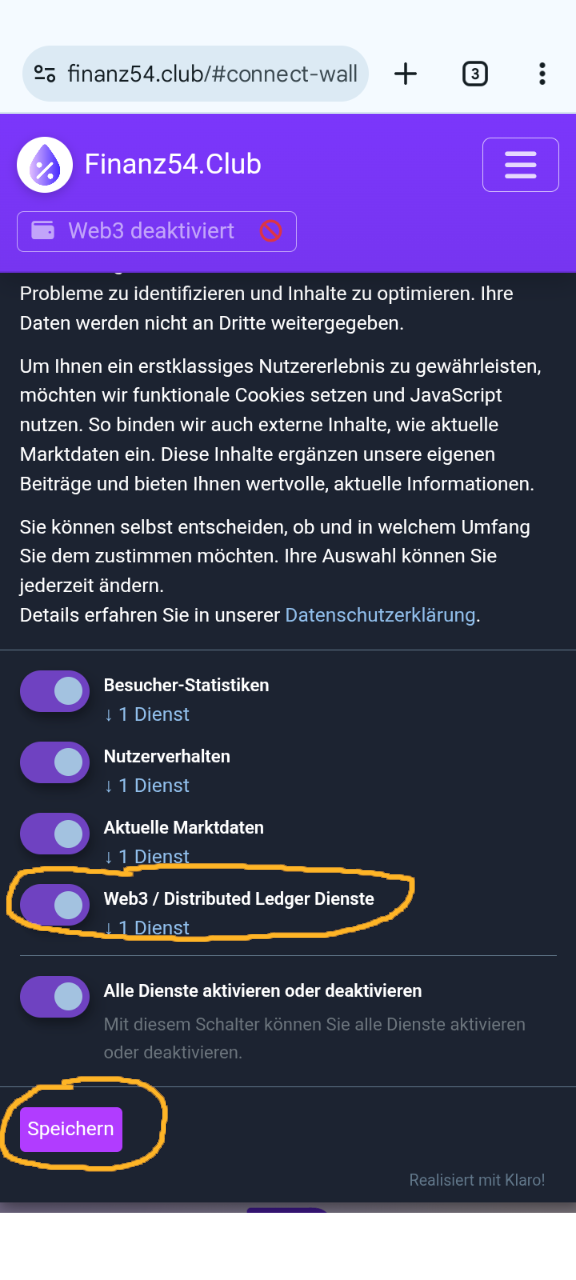
If you have opened our website on your smartphone, all required steps are shown in the image series below. You may still need to give your consent for Web3 services that we include via JavaScript. If you do not consent, or your browser blocks JavaScript, you unfortunately cannot access our internal club offering for technical reasons.
Step 1: Connect wallet
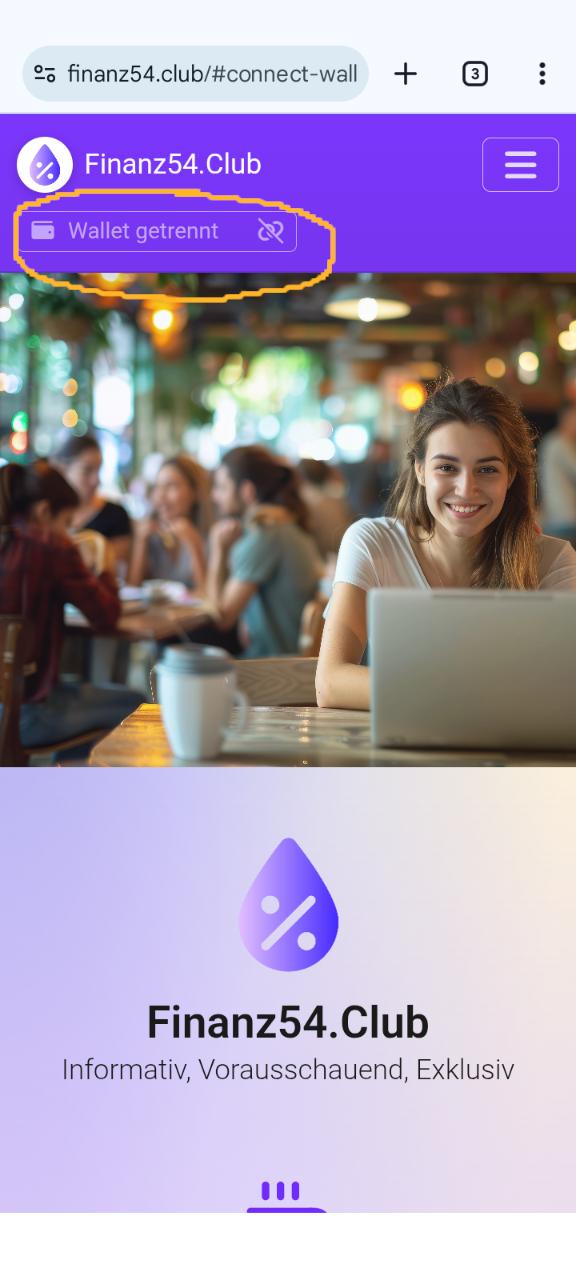
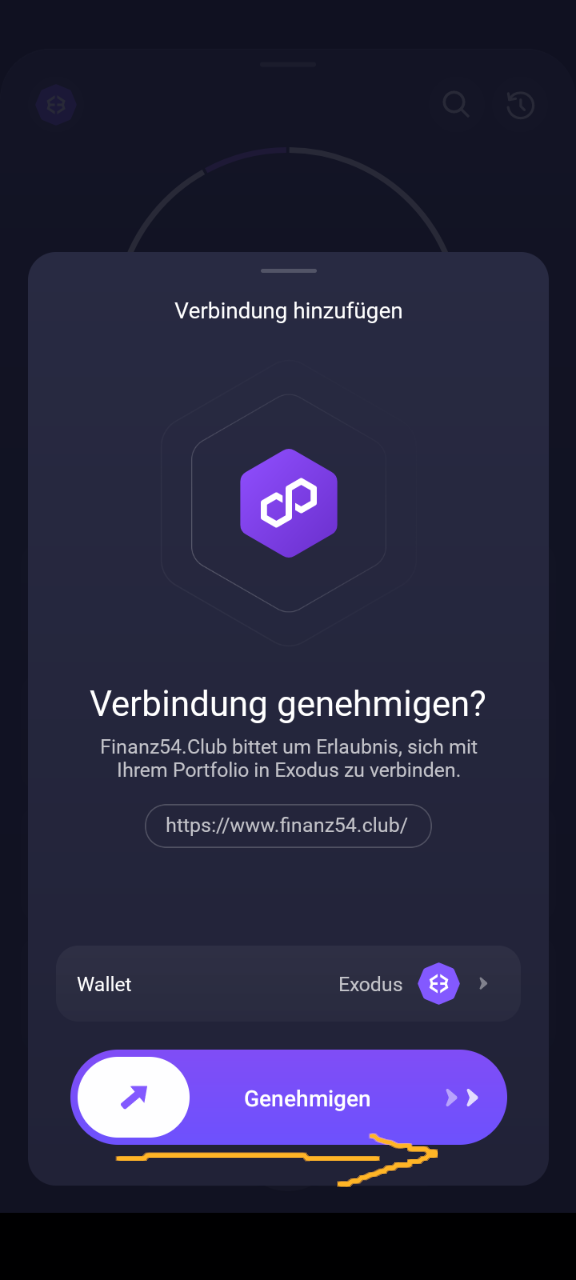
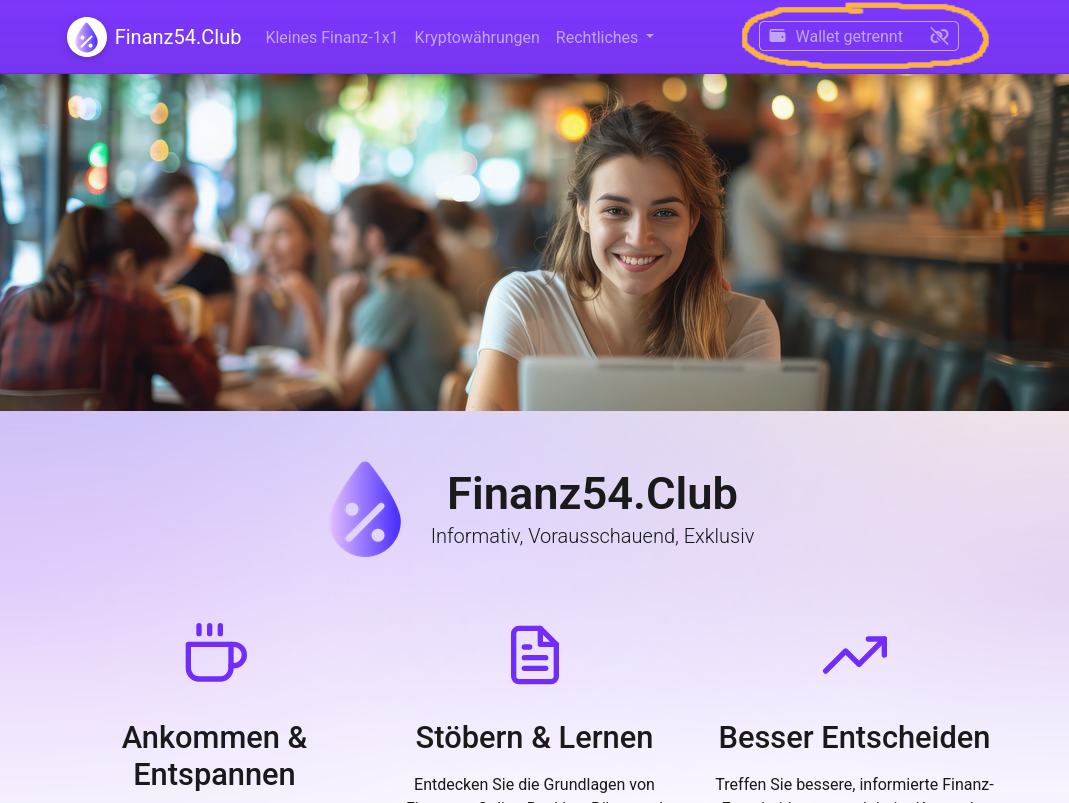
To connect your crypto wallet, tap the button labelled Wallet disconnected.
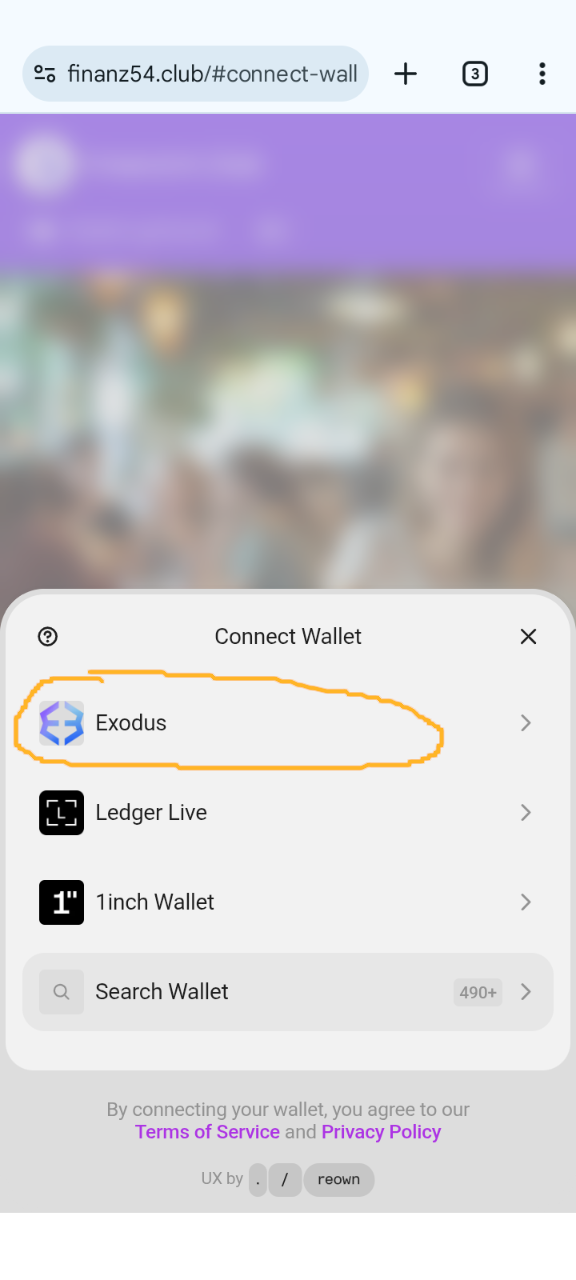
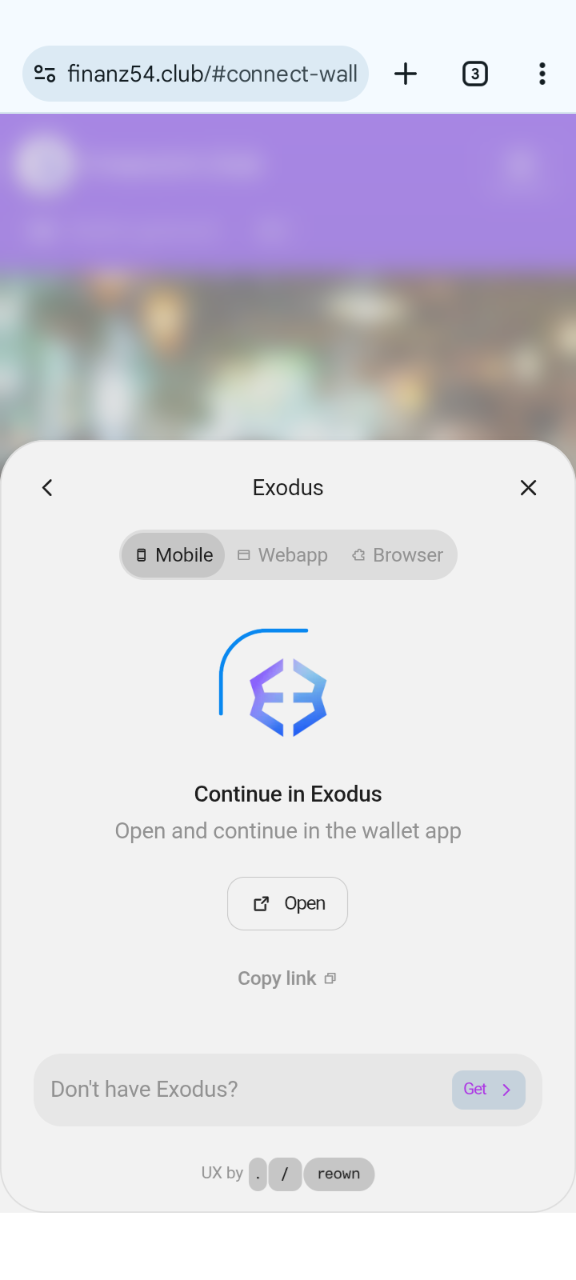
A selection panel opens where you choose Exodus. The Exodus app then opens on
your smartphone to confirm the connection. To approve the connection, drag the
arrow to the right in Exodus and then tap OK.
Please note that the Exodus app and the website exchange information in the background to establish the connection. It can therefore take two to five seconds until an action is completed.
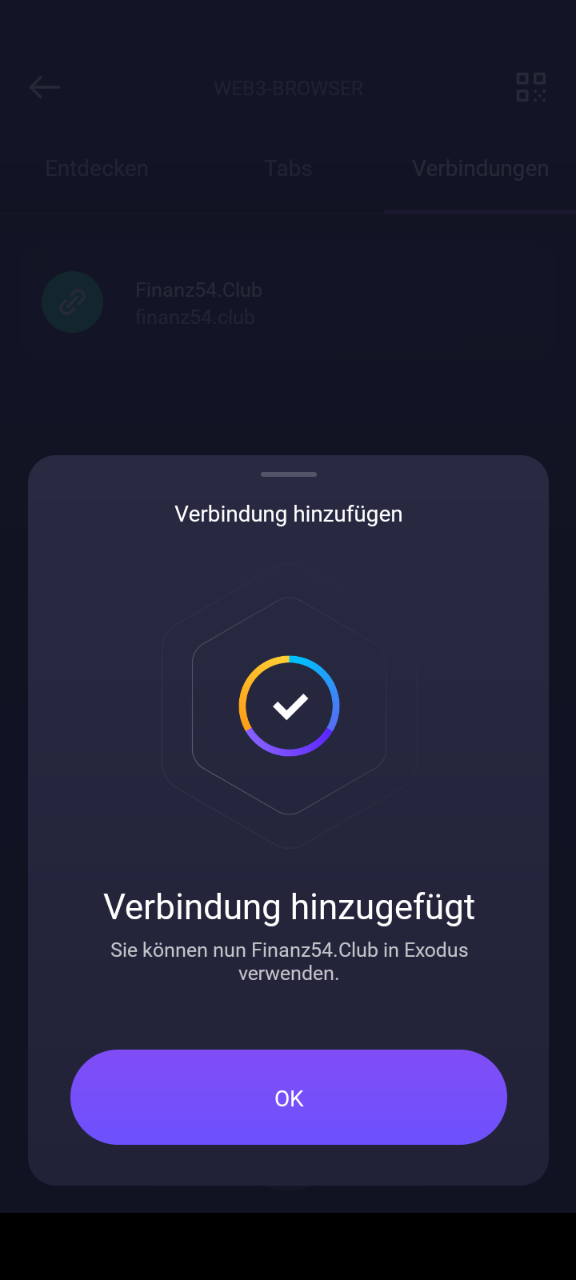
After you approve the connection in Exodus, your view does not automatically switch back to the website. Please switch back manually. The first step is then complete. On Finanz54.Club, you should now see that it is still waiting for a response from Exodus. Shortly after, a prompt for a digital signature appears.
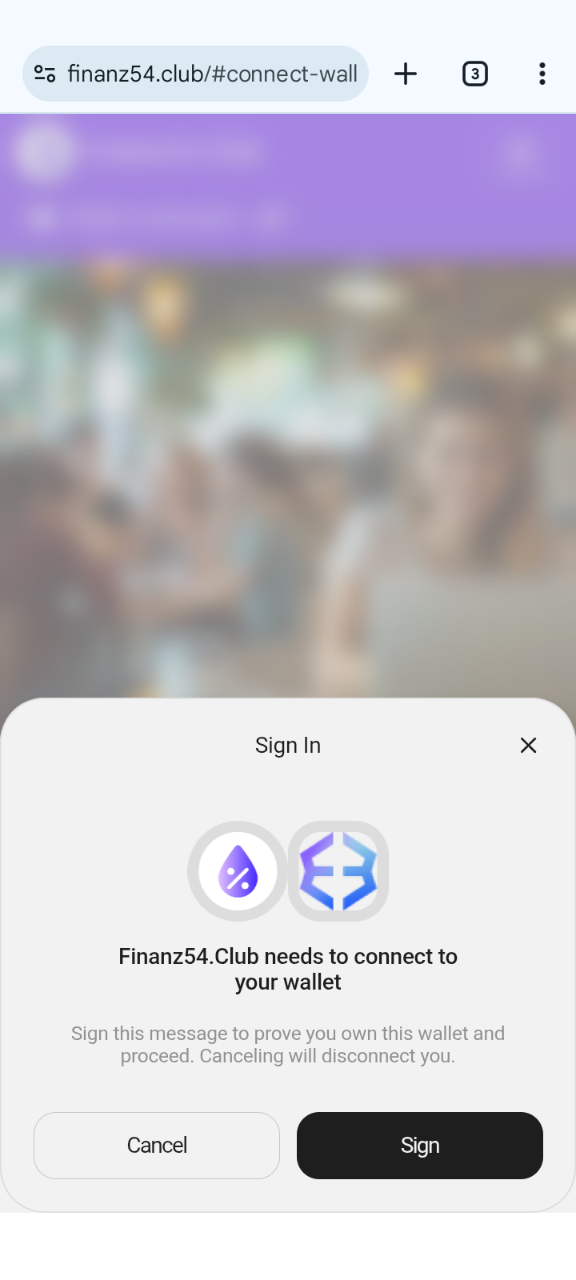
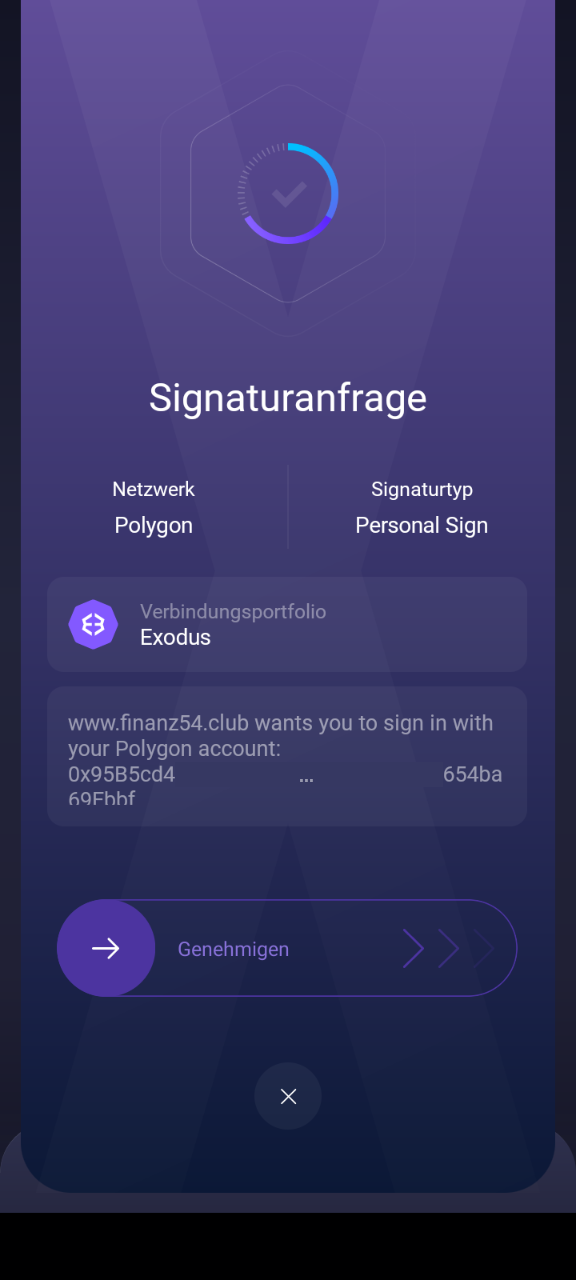
Step 2: Sign in with wallet
Once the website has received a response from Exodus, you are prompted to sign the sign-in request. This signing step serves only to ensure that you are the owner of the wallet. With this step, you sign in to our website. This is comparable to entering a password in a regular sign-in process.
Tap Sign on the website and then confirm the signature request in Exodus by
dragging the Approve slider to the right.

Desktop Computer (PC)
If the website is open on a computer, you can also connect the Exodus app on your smartphone and sign in. The same steps are required, but the flow and screenshots look slightly different.
Step 1: Connect wallet
Desktop
In desktop view, click the Wallet disconnected button in step 1.
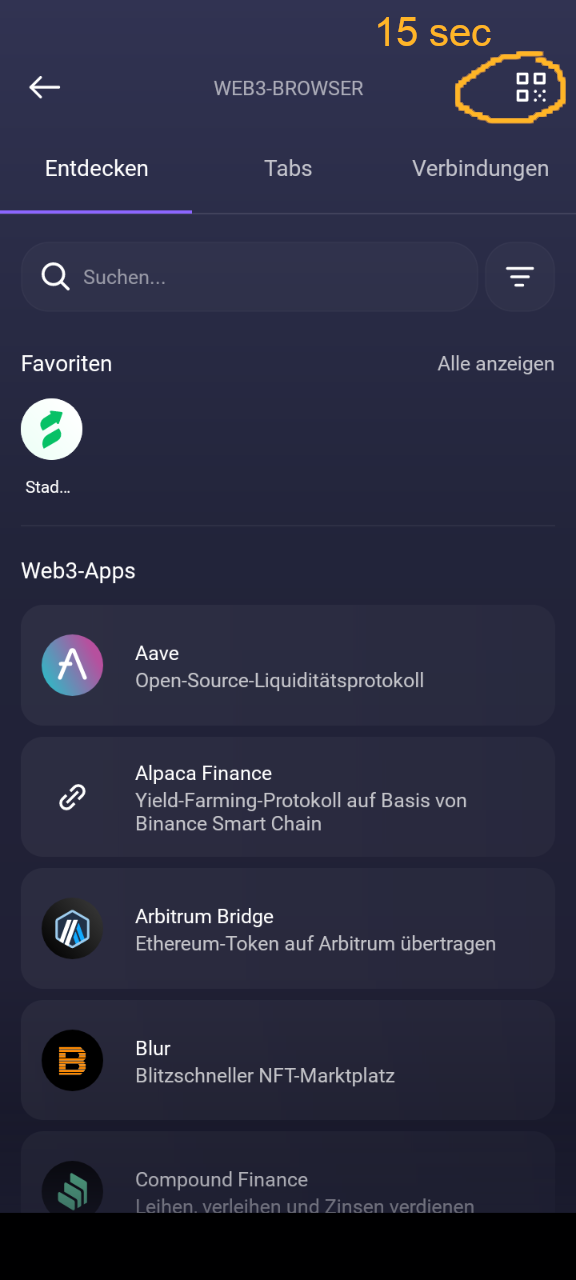
A window opens where you select Exodus. A QR code is then shown, which you can
scan with the Exodus app.

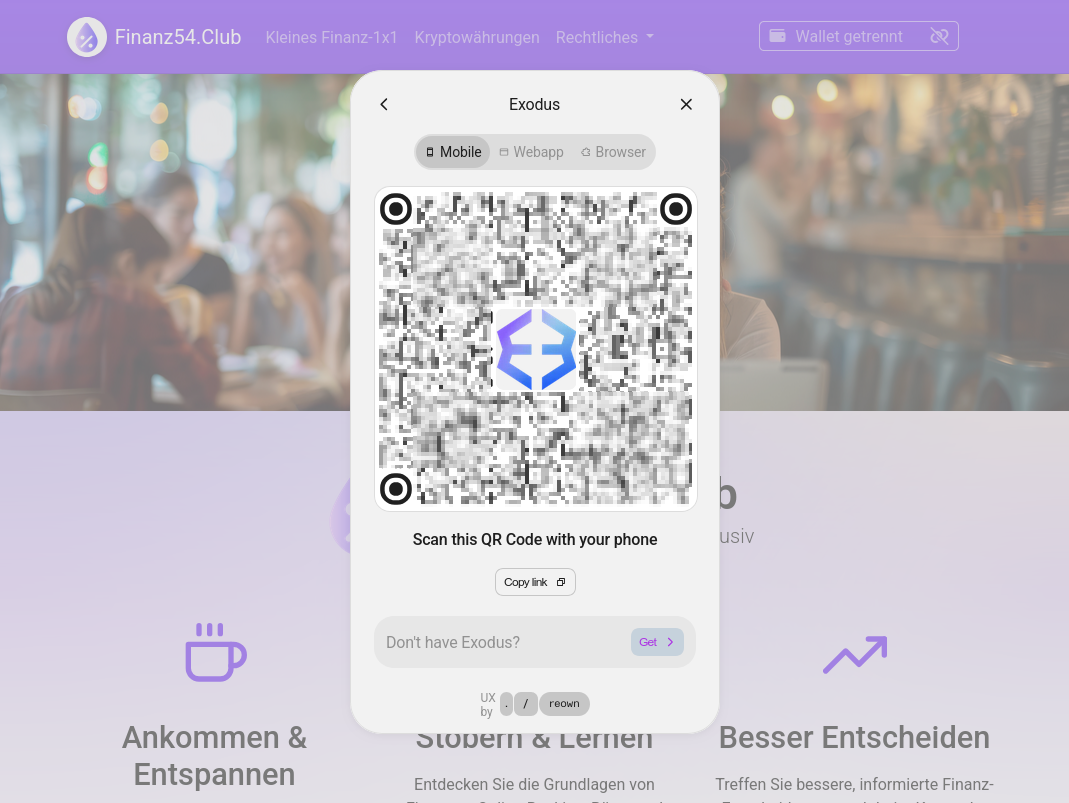
Exodus App
Please use the Exodus app and not the camera app to scan the QR code. In the Exodus app, tap the Web3 button and then the small QR code icon. In Exodus app version 25.46.14, the application unfortunately responds very slowly. It can take up to 20 seconds until the camera view appears and you can finally scan the QR code.

Step 2: Sign in with wallet
The second step, signing in, works in the same way as in the smartphone variant described above.
Try again. Sometimes it does not work on the first attempt. Please check that you do not have a JavaScript blocker or similar tool enabled.
If it still does not work, you are also welcome to send us a message at [email protected]. Please describe exactly what is not working or at which point you cannot continue. The more precise your description, the more specifically we can help.
Welcome to the Club!
Congratulations, you have signed in successfully. The first steps are done. You now have access to exclusive club content. We are happy to accompany you on your further journey of discovery.